Goal: Advertise your local business on Google Maps.
Ideal Outcome: Successfully create an ad campaign that will promote your local business on Google Maps.
Prerequisites or requirements: You need to set up a Google Business Profile.
Why this is important: If you run a local business, ads on Maps make it easy for people to get to your location.
Where this is done: Google Ads Manager and Google Business Profile.
When this is done: In the early stage of marketing your business.
Who does this: Marketing Manager, marketing consultant, or any person responsible for marketing strategy for your local business.
Environment setup
In order to start running local ads on Google Maps, you must first link your Google Ads account with your Google Business Profile.
If you have linked your Google Ads account with your Google Business Profile then you can skip to How to run a local campaign on Google Maps.
Link Google Ads with your Google Business Profile
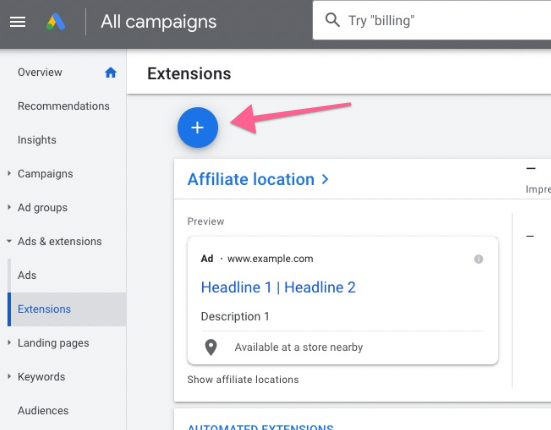
Log in to your Google Ads account extension dashboard.
Click the “+” button to add a new extension.
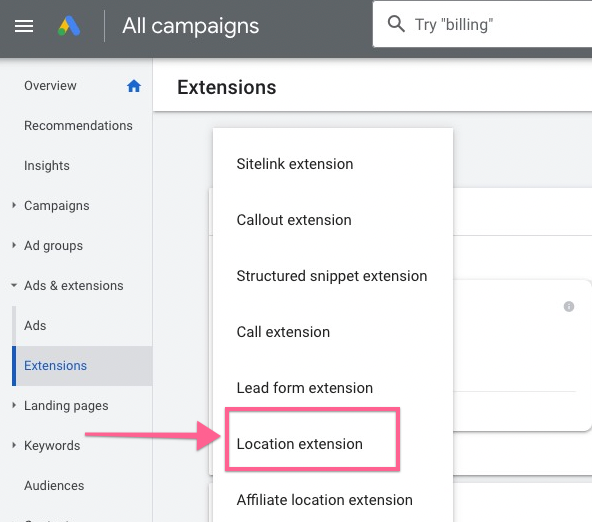
Select “Location extension” from the drop-down menu.
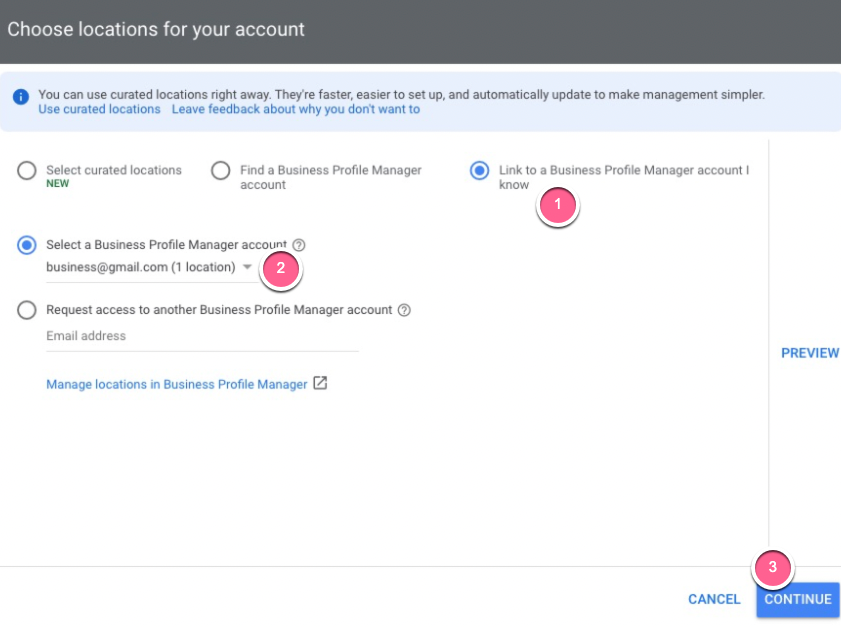
Choose your Google Business Profile as your location.
Select “Link to a Google Profile Manager account I know”.
Select the Business Profile Manager account that you’re logged in.
Click “Continue”.
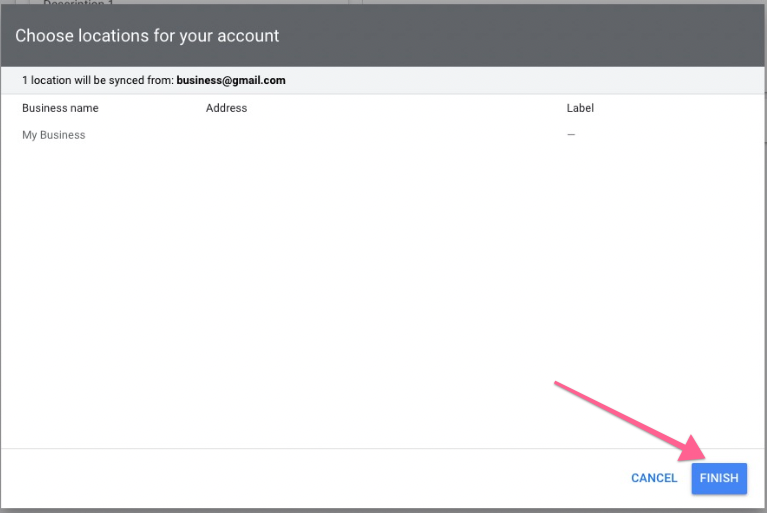
Click “Finish”
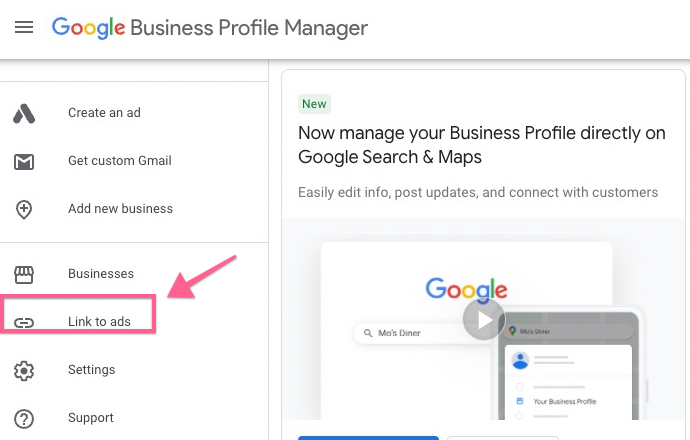
Then, sign in to your Google Business Profile account dashboard.
Click “Link to ads”
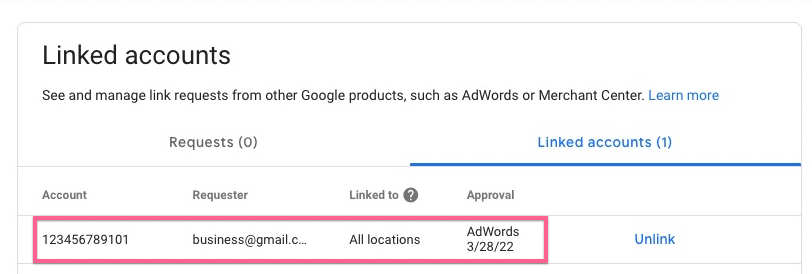
Confirm that your Google Ads account is linked to your Google Business Profile.
Run a local campaign on Google Maps
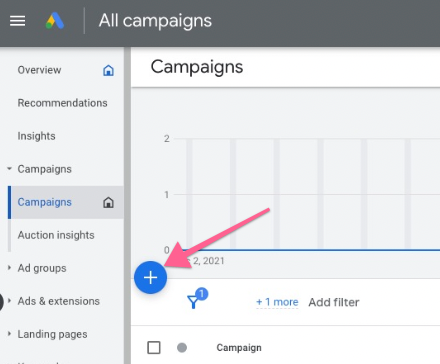
Sign in to your Google Ads dashboard.
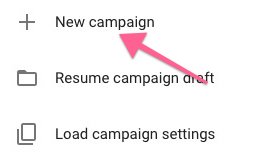
Click the “+” button and create a new campaign.
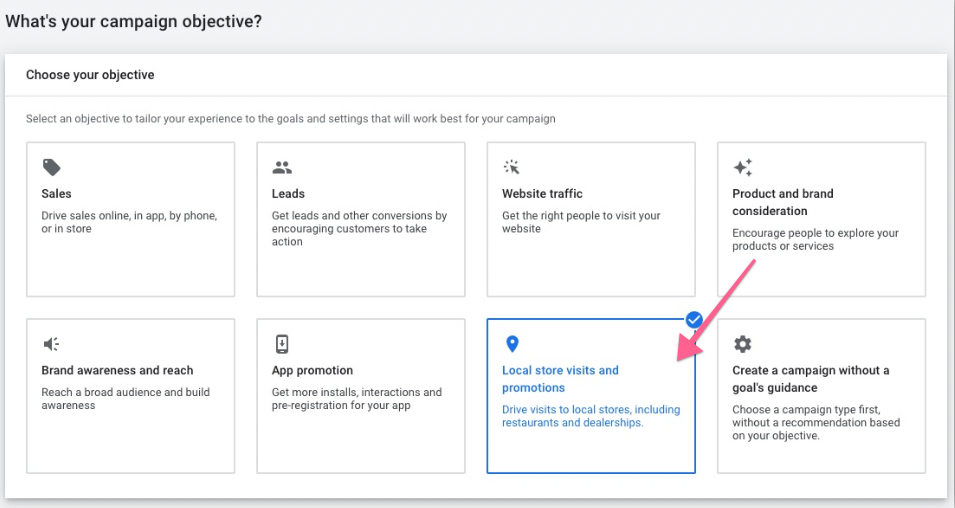
In the new campaign settings, select “Local store visits and promotions” as campaign objective.
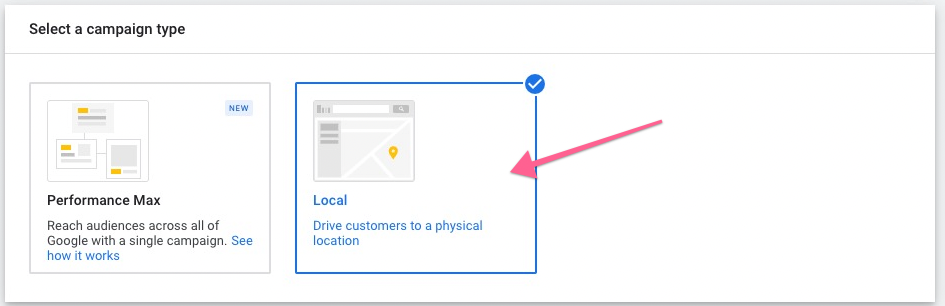
Select Local campaign type.
Use your Business locations to advertise and click “Continue”.
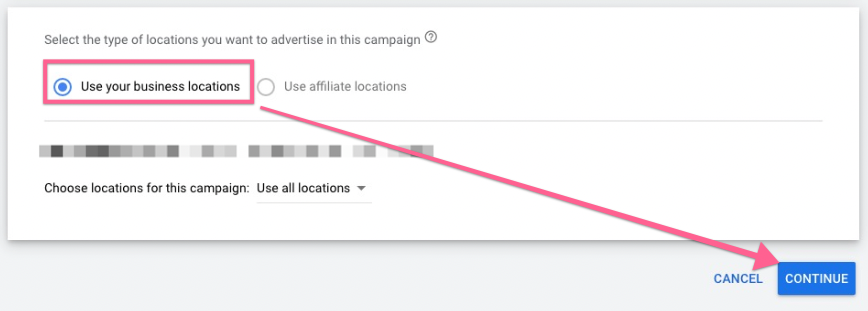
Note: If the option is disabled, that means you haven’t linked your Google ads account with your Google Business Profile.
In the next section, fill in the campaign settings details:
Campaign Name — A name to help you identify the campaign. Follow this document to define a proper naming convention for your campaign.
Languages — Select the language of your target audience.
Budget — Set a daily budget that you (or your client) are comfortable spending.
Bidding — The only bidding option available for local campaigns is Maximize conversion value. This bidding will maximize the local actions such as store visits or calls.
Campaign Optimization — Set a goal for what you’re optimizing for
Store visits — The number of visits to your physical store location.
Call clicks — The number of people who clicked “Call” to contact you after seeing the ad.
Driving directions — The number of people who clicked “Get directions” to navigate to your store.
Start and End date — Schedule the time and date for the campaign to run.
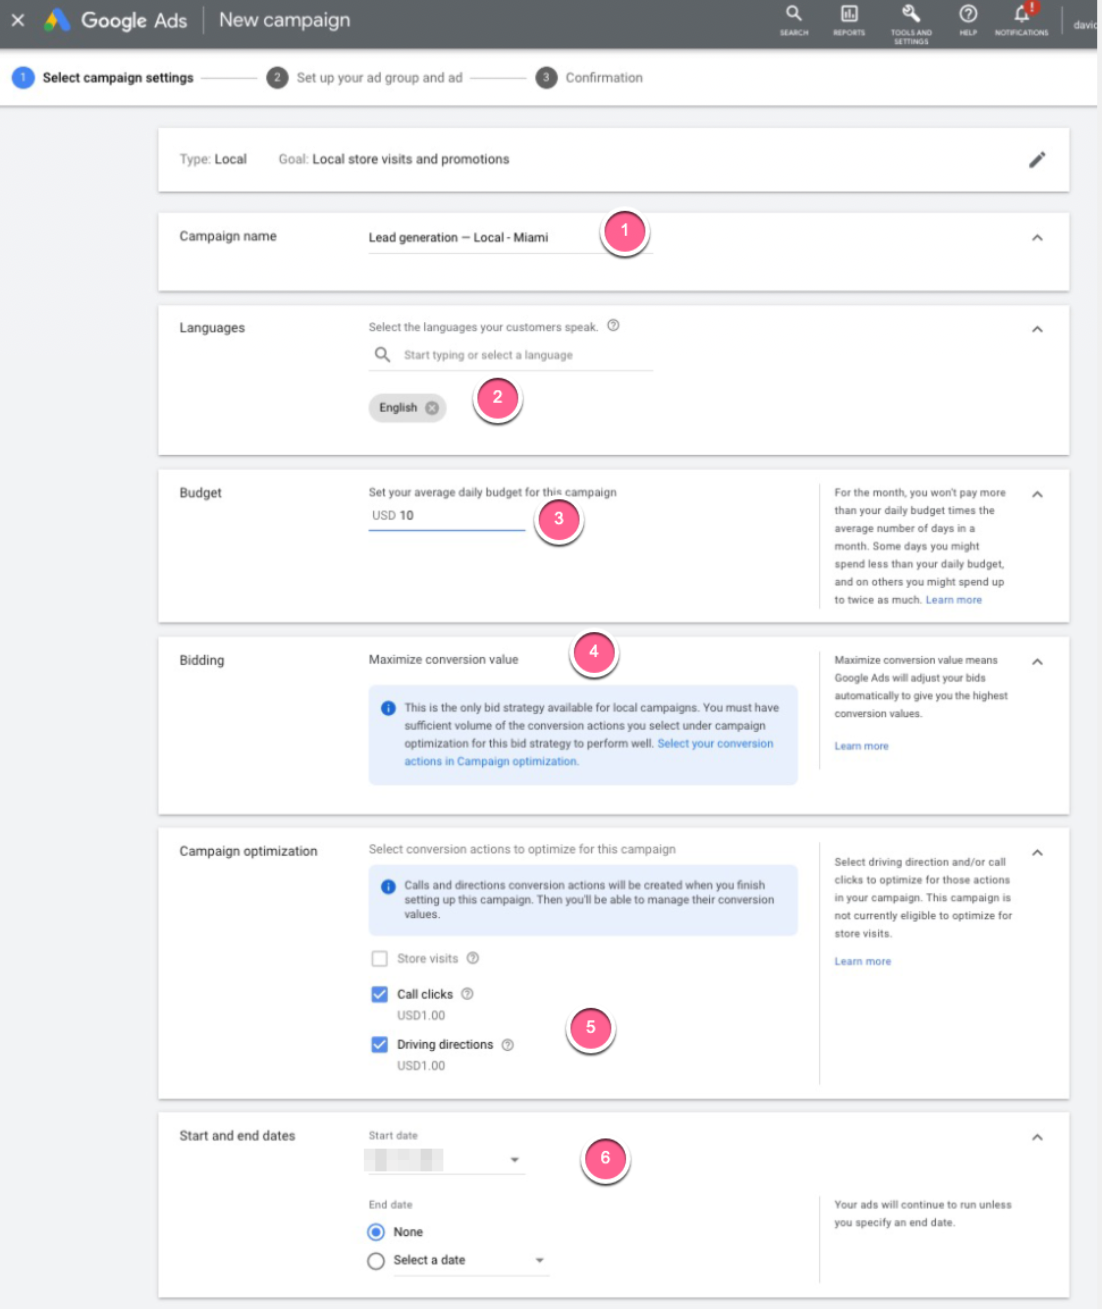
Once done, click “Save and Continue”.
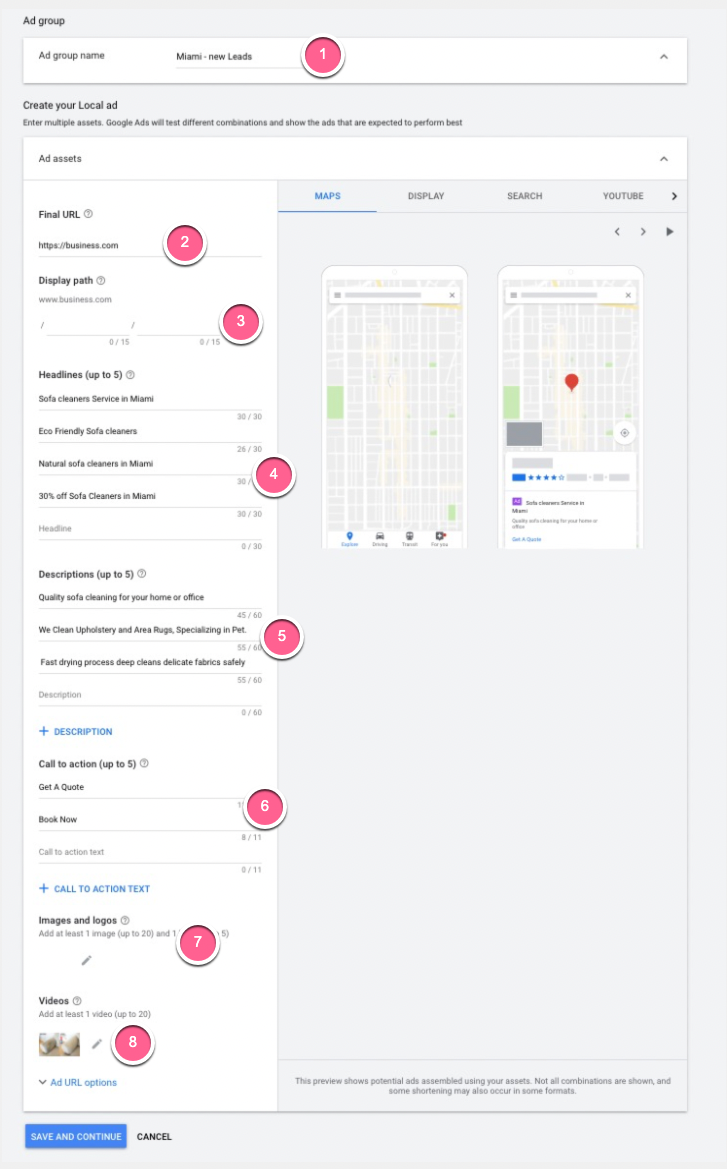
In the next section set up your ad for the local campaign
Ad Group name — Add a name for this ad group.
Final URL — The URL of your website. Make sure the URL is correct and loads as intended.
Display path — Customize the URL being shown in the ad.
Note: This doesn’t have to be an actual URL.
Headlines — Write headlines within 30 characters. You can write up to 5 headlines.
Note: All your headlines won’t show at the same time, rather, Google will rotate your headlines based on the user’s device or search query.
Description — Write a description within 90 characters. You can write up to 5 descriptions.
Call to action text — Copy to prompt customers to take action. For example:
Buy Now
Visit Store
Images — Upload logo and other images (at least 1 and up to 20) to showcase your service/product in the ad.
Note: You must upload one square image as a logo and at least one landscape image that showcase your business.
Videos (Optional)— Choose a video that communicates your business well quickly (ideally less than a minute)
Once done, click “Save and continue”
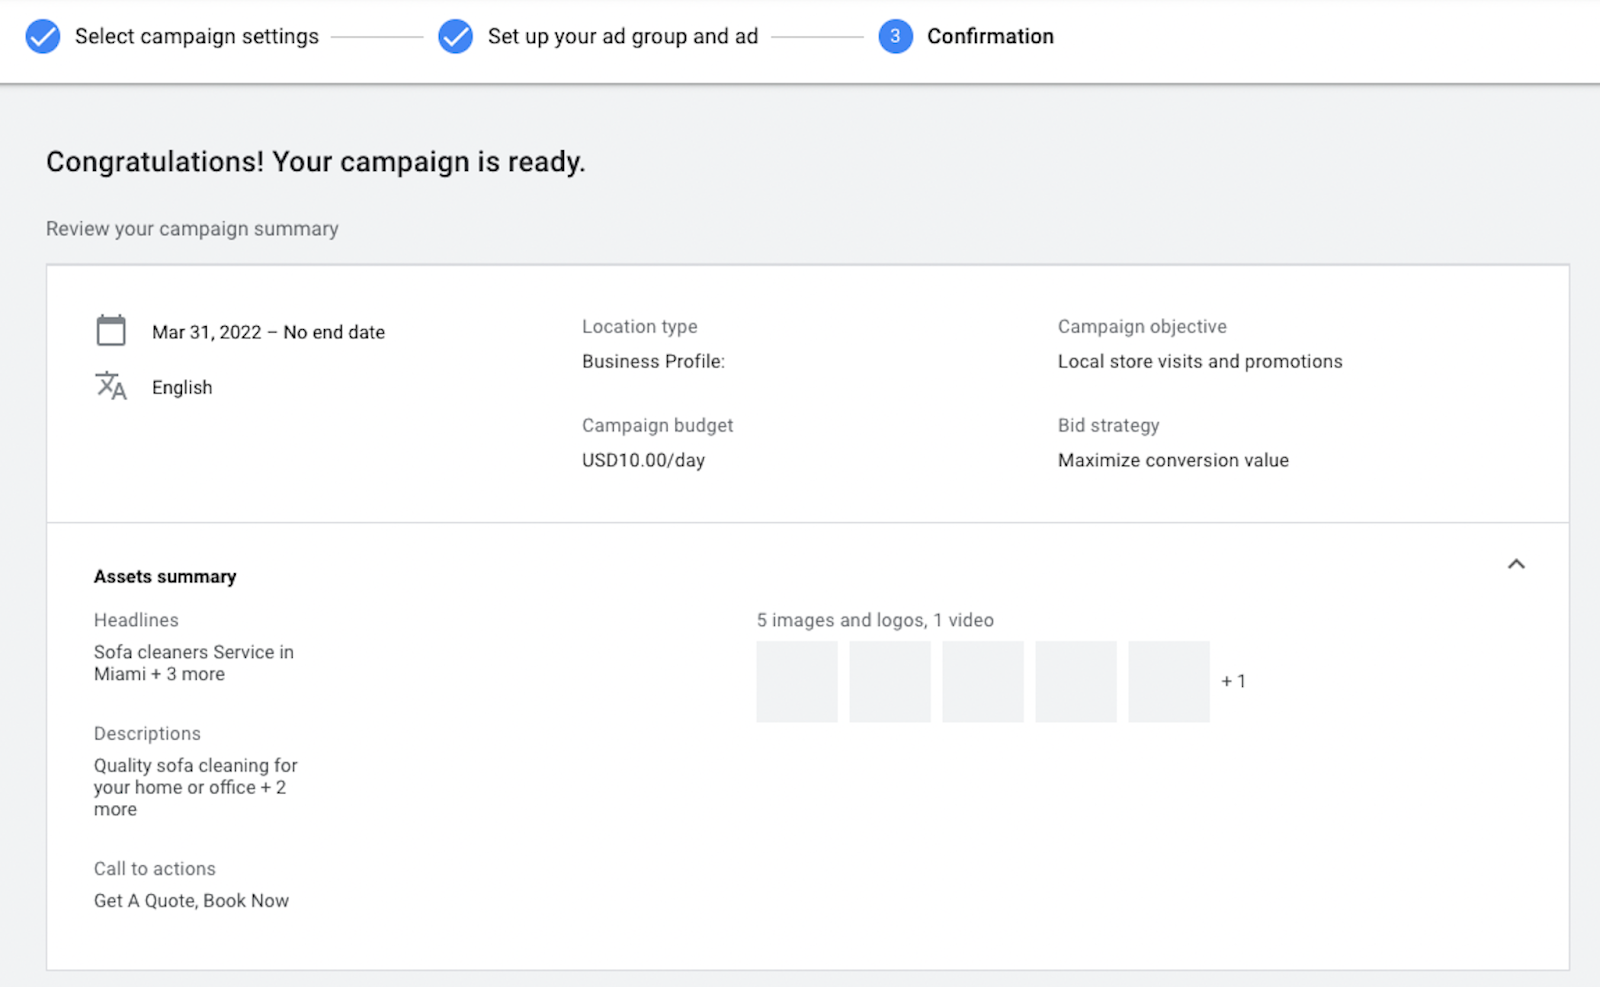
You can now view a summary of your campaign. Your local ad campaign is now ready!